Unlock Superior Flavor: The Ultimate Guide to Homemade Vanilla Extract
Imagine the rich, aromatic scent of pure vanilla elevating your baked goods, desserts, and even savory dishes to new heights. For many home bakers, store-bought vanilla extract is a pantry staple, but what if you could create a superior, more flavorful version right in your own kitchen? Making your own
homemade vanilla extract is not only surprisingly simple but also incredibly rewarding. It offers unparalleled quality, significant cost savings, and the immense satisfaction of knowing exactly what goes into your ingredients. Forget artificial flavors; embrace the deep, complex notes that only real vanilla can provide.
This comprehensive guide will walk you through everything you need to know, from selecting the finest beans to the simple steps of creation and the crucial aging process. Get ready to transform your baking with a staple you'll be proud to call your own.
Why Make Your Own Homemade Vanilla Extract? The Benefits Are Abundant
The decision to embark on the journey of making your own
homemade vanilla extract goes beyond mere novelty. It's a choice that brings a multitude of benefits to your culinary endeavors and even your wallet.
*
Unrivaled Quality and Flavor: Store-bought pure vanilla extract is good, but homemade often surpasses it. When you control the ingredients and the aging process, you unlock a depth of flavor that can't be matched. The long steeping time allows the vanilla beans to infuse the alcohol thoroughly, resulting in a robust, multi-layered aroma and taste profile that will make a noticeable difference in your recipes.
*
Significant Cost Savings: High-quality vanilla extract can be surprisingly expensive. By purchasing vanilla beans in bulk and using an inexpensive neutral spirit, you can produce a large quantity of premium extract for a fraction of the price. This makes it an incredibly economical choice for avid bakers.
*
Complete Control Over Ingredients: Concerned about additives or artificial flavors? With
homemade vanilla extract, you're in charge. You choose the beans, you choose the alcohol, ensuring a pure, natural product free from unwanted extras.
*
Customization Opportunities: Want to experiment with different vanilla bean origins or alcohol bases? Making it yourself allows for endless experimentation. You can tailor your extract to specific recipes or flavor preferences, creating truly unique variations.
*
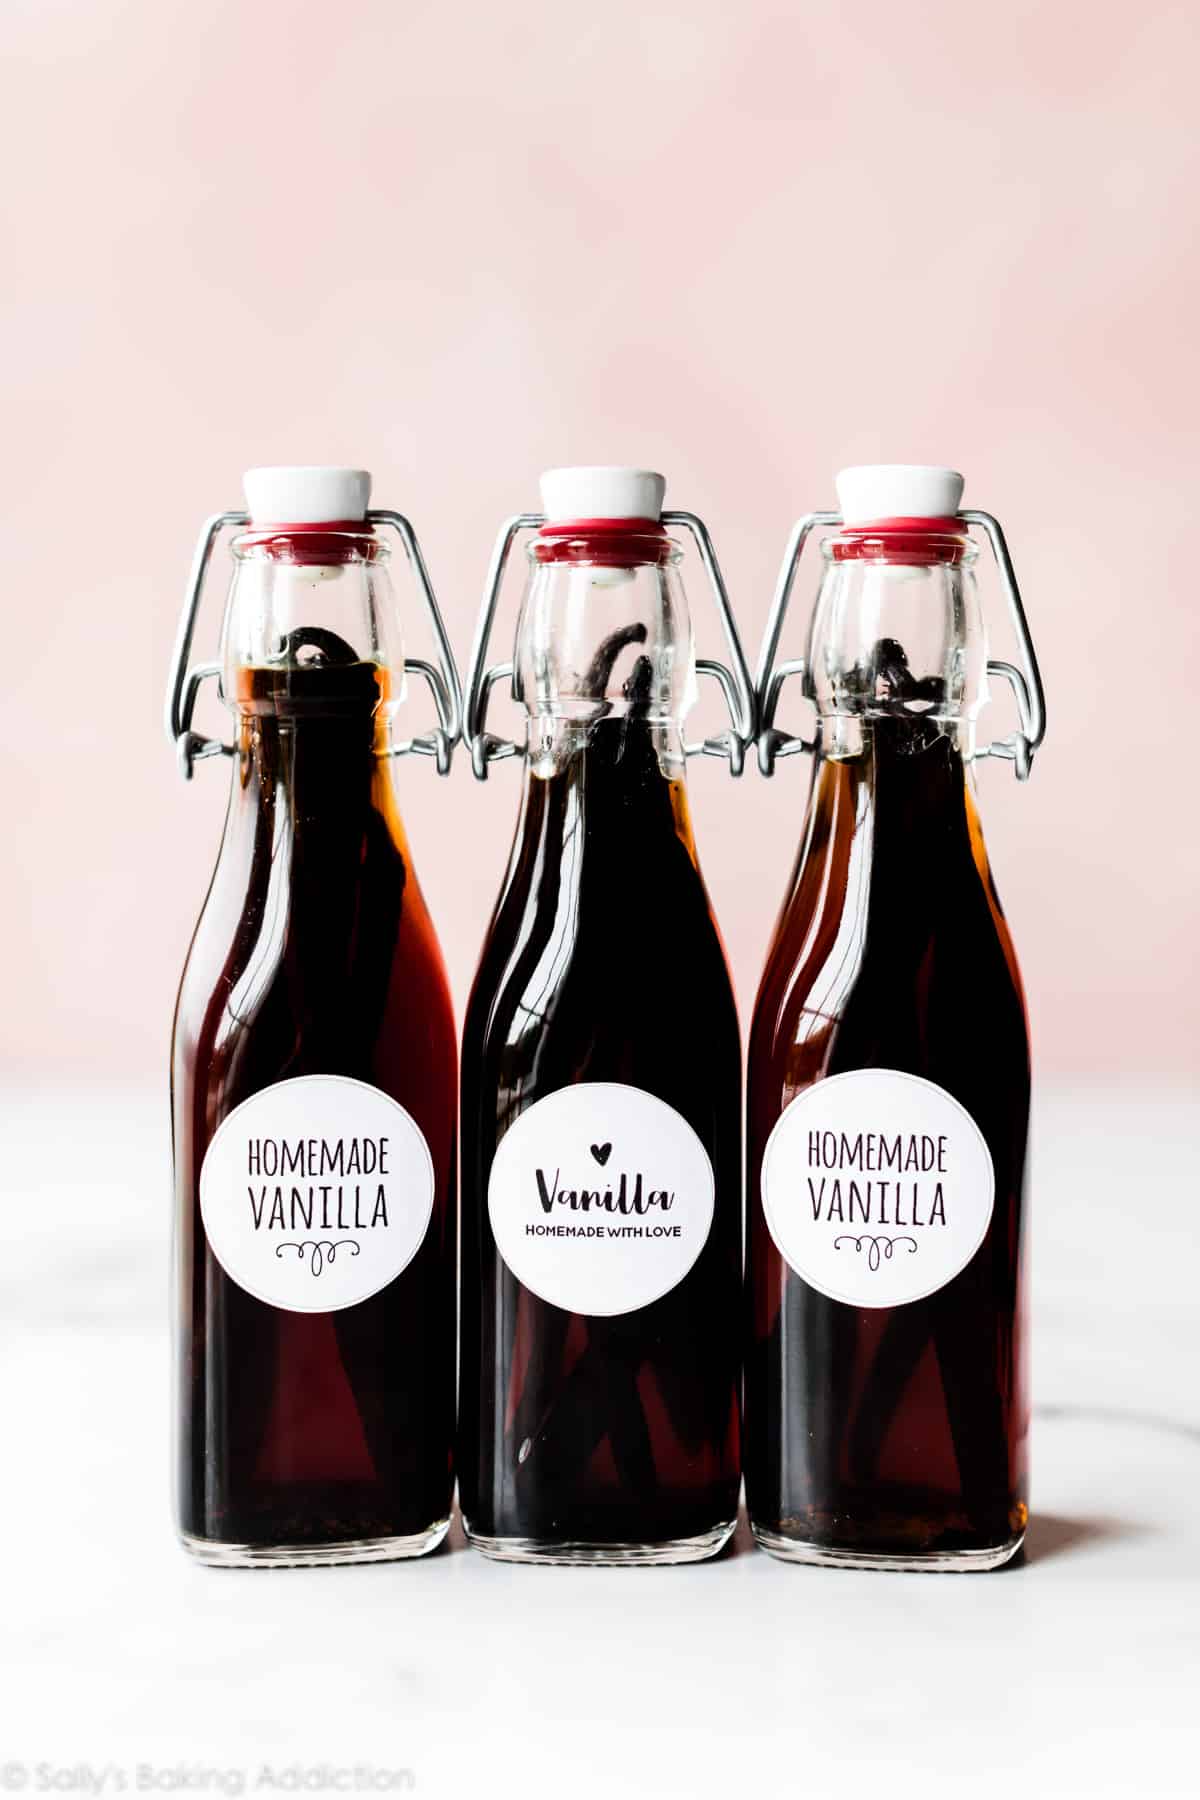
A Thoughtful and Impressive Gift: A beautifully bottled batch of homemade vanilla extract makes an exquisite, personal gift for any food lover or baker in your life. It speaks volumes about the care and effort you put into it, often accompanied by custom labels detailing its origin and batch date.
*
Eco-Friendly and Refillable: One of the best features of homemade extract is its refillability. Once you've used up a batch, you can often replenish the bottle with fresh alcohol, utilizing the same vanilla beans for a second (or even third) infusion, maximizing their flavor extraction and minimizing waste.
Gathering Your Essentials: What You'll Need for Homemade Vanilla Extract
Creating your own
homemade vanilla extract requires just a few key ingredients, but selecting the right ones is crucial for the best results.
Vanilla Beans: The Heart of Your Extract
The quality of your vanilla beans directly impacts the flavor of your extract. There are two primary grades of vanilla beans:
*
Grade A (Gourmet/Prime): These beans are plump, moist (over 25% moisture), and pliable. They are ideal for applications where the bean itself is scraped for seeds, like ice cream, custards, or crème brûlée, as they release their flavor quickly.
*
Grade B (Extract/Dry): With less than 25% moisture, Grade B beans are drier, less plump, and may have splits. However, this lower moisture content means their vanilla compounds are more concentrated and will extract beautifully over time. They are *perfect* for extract, producing a stronger, richer flavor during the long brewing process, and are typically more affordable. While Grade A beans will work in a pinch, Grade B is the preferred choice for a deep, robust extract.
Beyond the grade, consider the origin, as each type offers a unique flavor profile:
*
Madagascar (Bourbon) Vanilla Beans: The most common and classic vanilla flavor. These boast a creamy, sweet, and rich aroma, making them a versatile choice for any baking project.
*
Tahitian Vanilla Beans: Known for their floral, fruity notes with hints of cherry, anise, and sometimes caramel. They are excellent for lighter desserts or fruit-based recipes.
*
Mexican Vanilla Beans: Offer a bolder, smokier vanilla flavor with subtle undertones of clove and nutmeg. They pair wonderfully with chocolate or savory dishes.
General Rule of Thumb: Aim for 4-5 vanilla beans per 8 ounces (1 cup) of alcohol for a standard single-fold extract. For a more intense "double-fold" extract (often preferred by professional bakers), you would double the bean quantity.
Alcohol: The Flavor Extractor
The alcohol acts as the solvent, extracting and preserving the vanilla's complex flavors. The good news is, you don't need expensive liquor!
*
Vodka (80 Proof): This is the most common and recommended choice because of its neutral flavor profile. It allows the pure essence of the vanilla bean to shine through without interference. Any inexpensive 80-proof (40% alcohol by volume) vodka will work perfectly.
*
Other Options: For interesting flavor variations, consider:
*
Brandy: Adds a rich, slightly fruity, and warm undertone.
*
Rum (Dark or Light): Imparts a sweet, caramel-like note. Dark rum can add a deeper, molasses-like complexity.
*
Bourbon: Contributes smoky, oaky, and vanilla-like characteristics, complementing the vanilla beans beautifully.
No matter your choice, ensure the alcohol is at least 80 proof (40% ABV) to properly extract and preserve the vanilla.
Glass Jars and Bottles: For Brewing and Storing
You'll need clean, airtight glass containers.
*
Mason Jars: Ideal for the initial brewing process, especially larger batches. Their wide mouths make it easy to add and remove beans.
*
Bottles with Tight-Sealing Lids: Swing-top bottles or dark amber bottles (to protect from light) are perfect for storing and gifting your finished extract.
*
Funnel: Extremely helpful for pouring alcohol into narrow-necked bottles without spills.
Crafting Your Own Homemade Vanilla Extract: A Simple Step-by-Step Guide
Making your own
homemade vanilla extract is remarkably straightforward. With just a few minutes of prep, you'll be on your way to a gourmet ingredient.
Step 1: Prepare Your Vanilla Beans
Carefully lay your vanilla beans on a clean cutting surface. Using a sharp knife, gently score each bean lengthwise, from just below the stem end almost to the tip. This cut allows the tiny vanilla seeds and flavorful oils inside to have greater surface area contact with the alcohol, maximizing extraction. You don't need to split them entirely open, just a deep incision. If your beans are too long for your chosen jar, cut them in half crosswise.
Step 2: Place Beans in Your Jar
Carefully place the prepared vanilla beans into your clean glass jar or bottle. For an 8-ounce container, remember to use 4-5 beans. If you're using larger jars, adjust your bean count accordingly (e.g., 8-10 beans for a 16-ounce jar).
Step 3: Add Your Chosen Alcohol
Using a funnel for precision, slowly fill the jar with your 80-proof alcohol. Ensure that the vanilla pods are *completely submerged* in the liquid. This is crucial for proper extraction and to prevent mold growth. Leave a small headspace at the top of the jar.
Step 4: Seal, Shake, and Age
Secure the lid tightly on your jar. Give the bottle a gentle shake to ensure the beans are fully coated. Now comes the most important part: patience. Store your vanilla extract in a cool, dark place, away from direct sunlight. A pantry or cupboard is ideal.
For optimal flavor development, allow your
homemade vanilla extract to brew for a minimum of 6 months. During this period, shake the jar gently once a week or every couple of weeks to redistribute the beans and alcohol, encouraging better extraction. While 6 months is the minimum, many aficionados swear by letting it age for 12 months or even longer for truly exceptional depth. You'll notice the liquid gradually darkening and developing that unmistakable vanilla aroma.
Unlocking Flavor Potential: Tips for the Best Homemade Vanilla Extract
To ensure your
homemade vanilla extract is truly exceptional, consider these expert tips:
*
Patience is Key: While 6 months is the minimum, the flavor of your extract will continue to deepen and improve with more time. Don't rush the process!
*
Shake Regularly: Giving your extract a gentle shake every week or two helps to circulate the alcohol and ensures continuous flavor extraction from the beans.
*
Label Your Jars: Always label your jars with the start date and the type of beans and alcohol used. This helps you track aging and learn which combinations you prefer.
*
Consider Double-Fold: For a more intense, professional-grade extract, use twice the amount of vanilla beans per ounce of alcohol. This "double-fold" extract offers a more concentrated flavor, requiring less in recipes.
*
Refilling is Easy: Once you've used up your first batch of extract, you can often refill the bottle with fresh alcohol, using the same "spent" vanilla beans. These beans typically have enough flavor left for one more extraction cycle. Just add new alcohol and let it age again for another 6+ months. You'll know the beans are truly spent when the extract starts to taste noticeably weaker after a full aging cycle, or when the beans themselves have lost their pliability and scent.
*
Storage: Once aged, your homemade vanilla extract can be stored indefinitely in a cool, dark place. The alcohol acts as a natural preservative.
For even more advanced tips and tricks, be sure to check out
homemade vanilla extract - Article 2.
Gifting and Beyond: Sharing Your Homemade Vanilla Extract
Once your extract has reached peak deliciousness, it’s time to enjoy it! This is where the beauty of
homemade vanilla extract truly shines.
*
For Your Kitchen: Replace your store-bought extract with your homemade version in all your baking. Notice the difference in cakes, cookies, custards, and even coffee or hot chocolate.
*
The Perfect Gift: Pour your finished extract into charming, smaller bottles. Add a custom label with the date it was made, the type of beans, and a sweet message. These make fantastic hostess gifts, holiday presents, or thoughtful tokens of appreciation. You can even include instructions for refilling!
Making your own vanilla extract is a journey of discovery and a testament to the power of simple, high-quality ingredients. For inspiration on recipes that perfectly showcase your new creation, explore
homemade vanilla extract - Article 3.
Conclusion
Embarking on the journey of creating your own
homemade vanilla extract is a simple yet profoundly rewarding endeavor. From the moment you select your vanilla beans to the day you uncork that first aged bottle, you're investing in superior flavor, significant savings, and the joy of crafting something truly special. The minimal effort required pales in comparison to the rich, complex aroma and taste that will elevate all your culinary creations. So, gather your ingredients, embrace the patience of the aging process, and prepare to delight your senses with the unparalleled essence of pure homemade vanilla extract. Your taste buds—and your baking—will thank you!